A DIY Tissue Dispenser with a Chic Vintage Look
As we enter cold and flu season, the tissue box becomes a household staple in every room. Most manufacturers try to make them pleasing to the eye with cheerful colours, prints and seasonal images, but they still seem to clash with our home decor. This year, a little DIY hack will eliminate the troublesome tissue box in place of a vintage look you can adapt to fit any room in your home.
Supplies you’ll need:
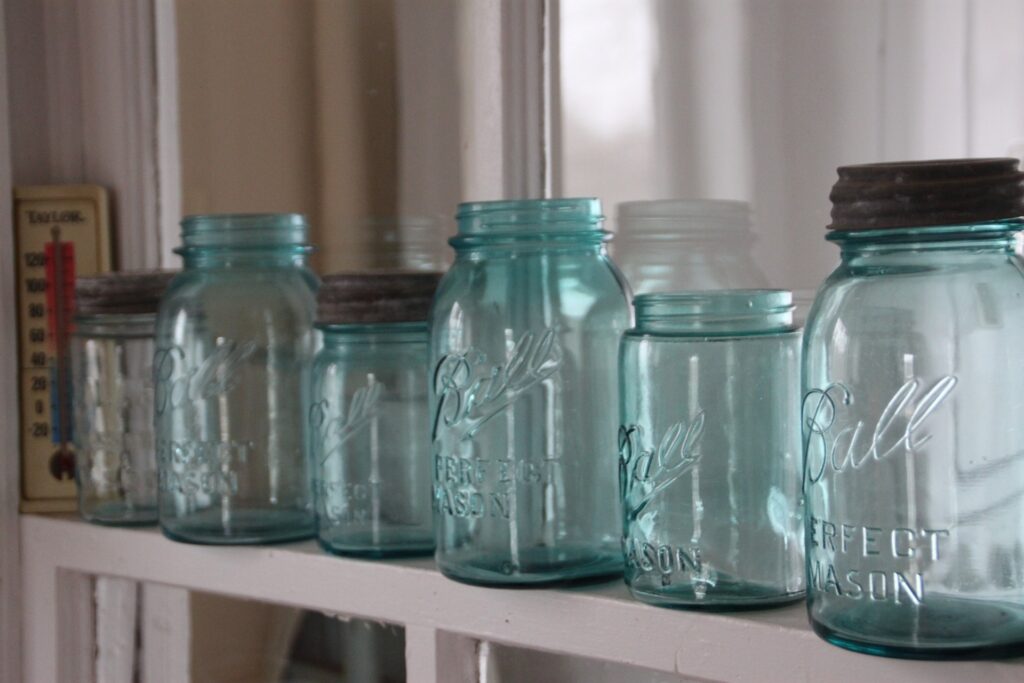
- Wide mouth Mason jar (with lid)
- Craft paint
- Paint brush
- Scrapbook paper
- Scissors
- Xacto knife
- Glue stick
- Tissues
Paint the Mason Jar.
Four coats of craft paint (in a shade of your choice) should give you a nice deep colour. If you prefer a more antique glass look, one coat may be all you need. It’s important to let each coat dry completely before applying the next one, otherwise it will create clumps.
Cut Out a New Lid Insert.
While you’re waiting for the paint to dry, use the Mason jar lid to cut out perfect circles of scrapbook paper with your X-acto knife. Glue at least 3 circles together for a sturdy insert, making sure the pattern is visible on both sides. Once glue has dried, cut a big X in the middle.
Put it all Together.
After the paint is dry, add the tissues to the jar. Now put the scrapbook paper insert into the ring of the Mason jar lid. Carefully, pull one sheet of tissue through the X and screw the lid firmly to the Mason jar. Add any stick-on craft embellishments you like and your DIY tissue dispenser is complete!
Pro Tip
When adding tissues, work from the top of the pile where the first tissue would typically pop out of the box. Using about a half inch of tissues, fold them in half with the first tissue pulled up (so you can slip it through the top of your dispenser). Now fold them in half again vertically and pop them in the Mason jar with the first tissue still standing tall. Slip this tissue through the insert and screw on the lid.